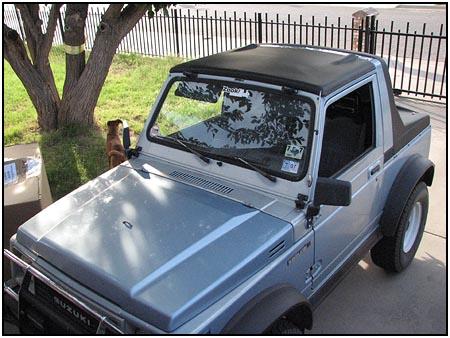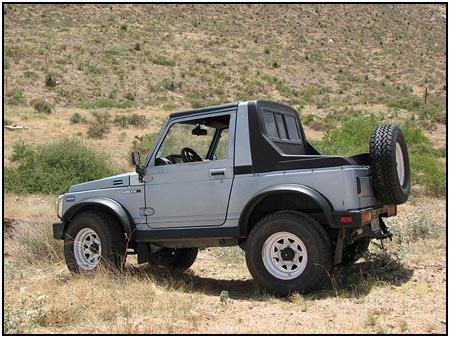
| Sporty
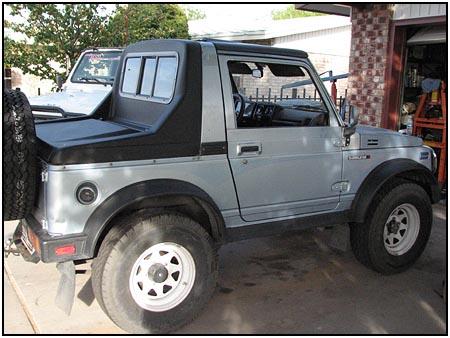
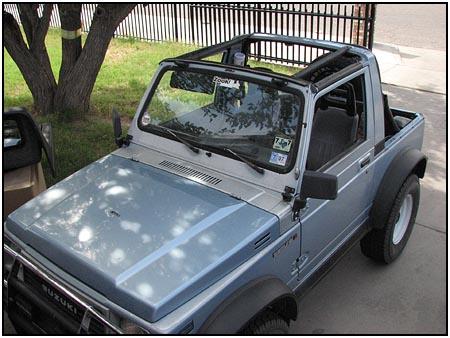
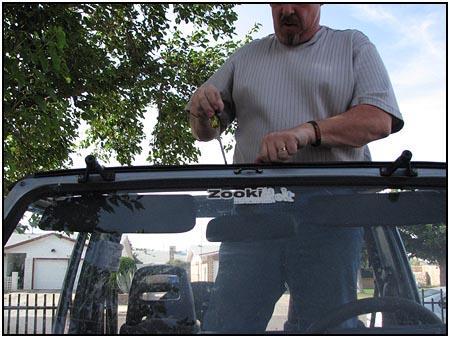
New Hard Top! By Bill Johnston When I started driving my first Samurai, I had a friend that had a unique fiberglass top on his rig. It turned the Zook into a half-cab. Until recently, his was the only one I had seen up close. Lately, whenever I would look for them, the distributors seemed to be out of stock, or backordered with no shipping date. Now Rally Tops has re-released their version of the top and the design improvements make it really stand out over the old model. Time to see them up close and personal like! |
|||
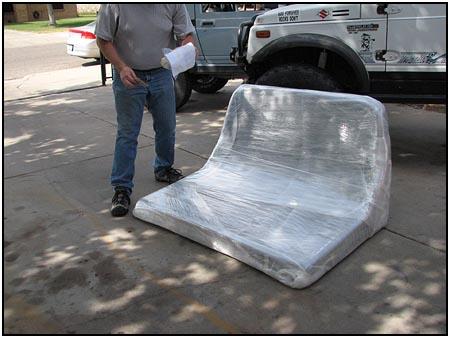
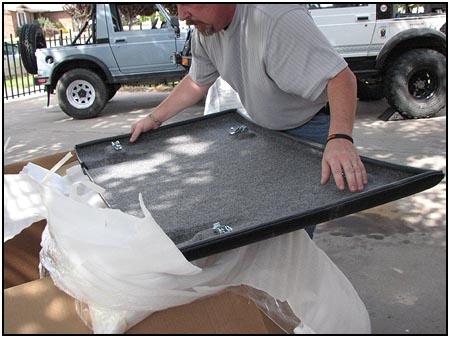 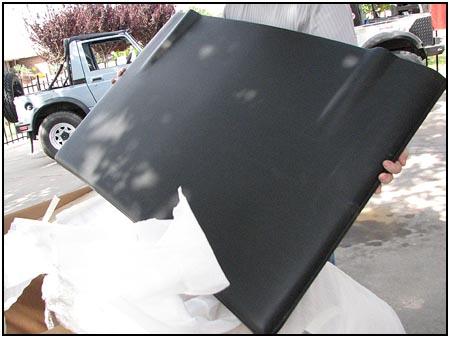 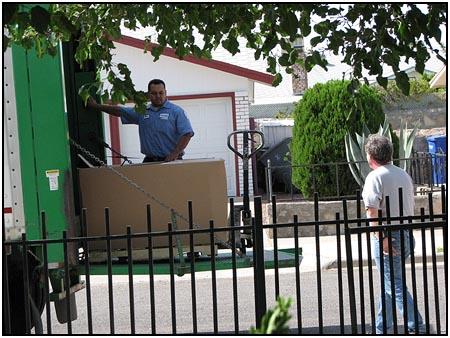 First
of all, it won't be delivered by your local brown truck guy in shorts...
This will come by freight, but it can be delivered to your driveway! There
are basically two parts plus some installation components. Make sure it has
not been damaged before you sign for it. Fiberglass can be damaged if not
handled with care. First
of all, it won't be delivered by your local brown truck guy in shorts...
This will come by freight, but it can be delivered to your driveway! There
are basically two parts plus some installation components. Make sure it has
not been damaged before you sign for it. Fiberglass can be damaged if not
handled with care. |
|||
|
|
|||
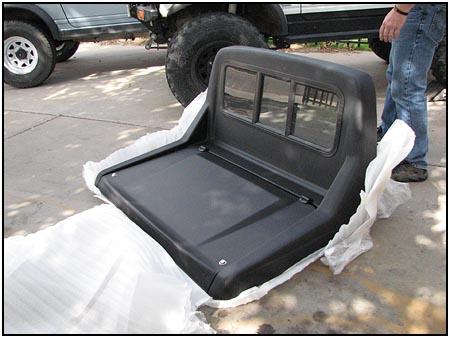
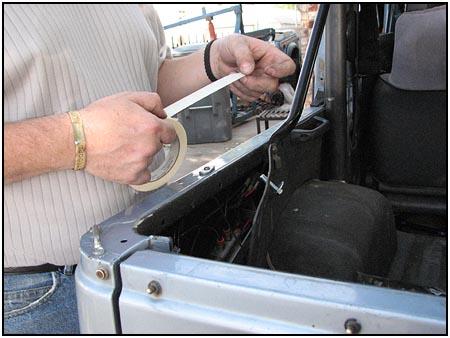
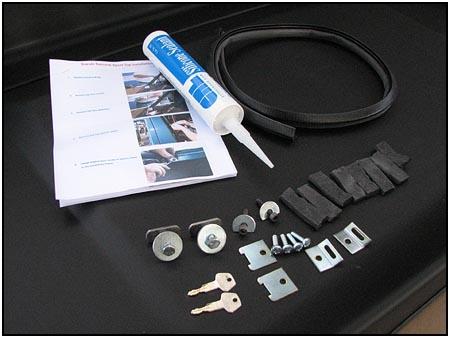   The
installation kit comes with all the hardware you will need, including some
new rubber molding, sealant and an instruction packet. We are starting with
a fairly stock 88.5 Samurai. The stock soft top hoop had already been
removed. The
installation kit comes with all the hardware you will need, including some
new rubber molding, sealant and an instruction packet. We are starting with
a fairly stock 88.5 Samurai. The stock soft top hoop had already been
removed. |
|||
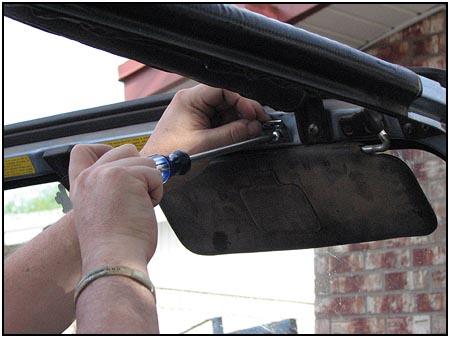
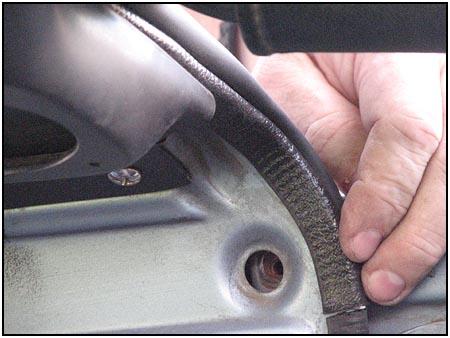
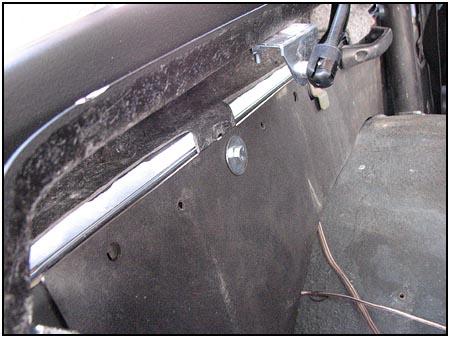
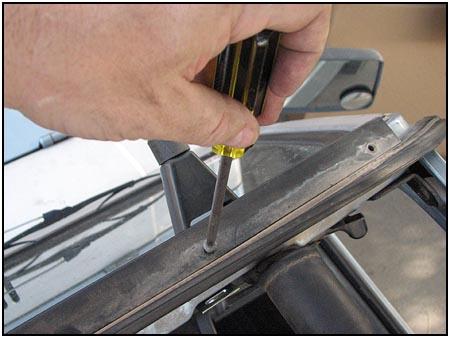
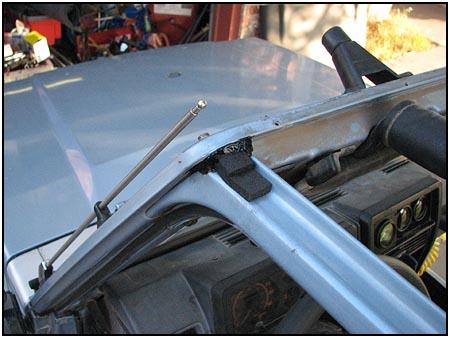
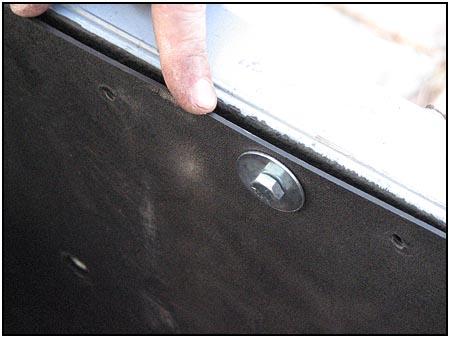
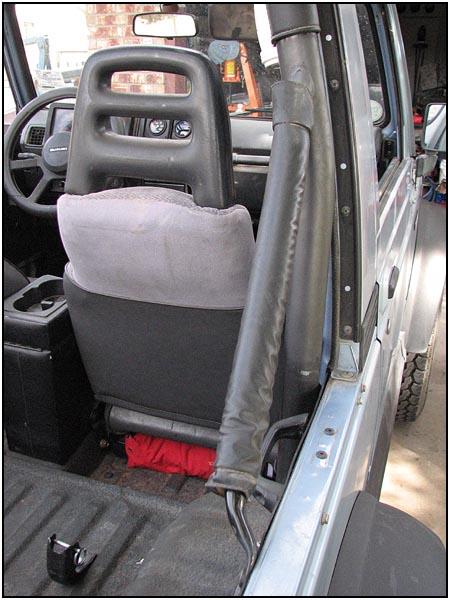 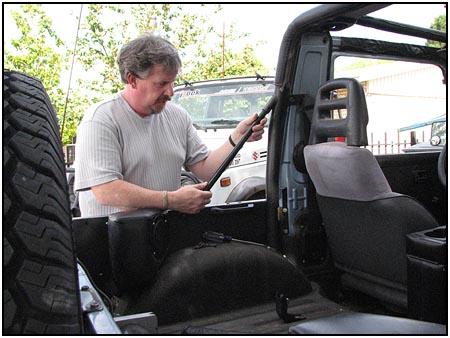  There
are some parts you will have to remove before the top gets fitted. The first
is the padding on the trailing arms of the roll bar. Although these bars
won't be seen after the top is on, don't just remove the whole bar and throw
it in the corner. They provide support for the stock roll bar and are better
than nothing. If you have a custom cage with trailing arms that are not the
same size or in the same position as the stock bar, then you may have
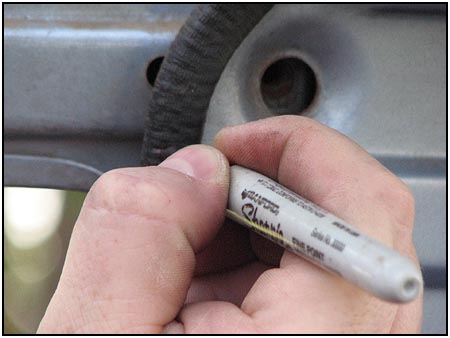
fitment problems. One thing that you DON'T see in the picture is the stock soft top hoop. If you have one, it will need to be removed
also. You can see the two bolt holes in the body rail where the hoop was
originally attached. There
are some parts you will have to remove before the top gets fitted. The first
is the padding on the trailing arms of the roll bar. Although these bars
won't be seen after the top is on, don't just remove the whole bar and throw
it in the corner. They provide support for the stock roll bar and are better
than nothing. If you have a custom cage with trailing arms that are not the
same size or in the same position as the stock bar, then you may have
fitment problems. One thing that you DON'T see in the picture is the stock soft top hoop. If you have one, it will need to be removed
also. You can see the two bolt holes in the body rail where the hoop was
originally attached. |
|||
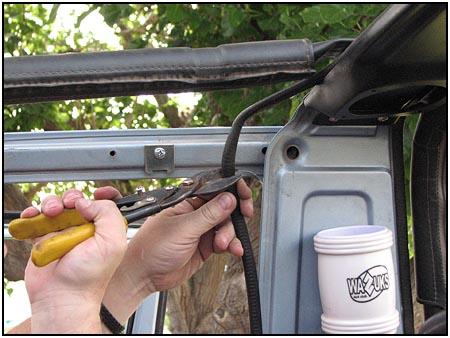
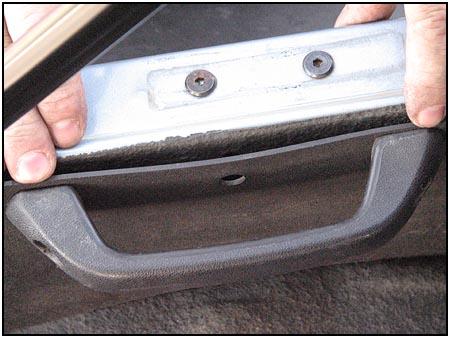
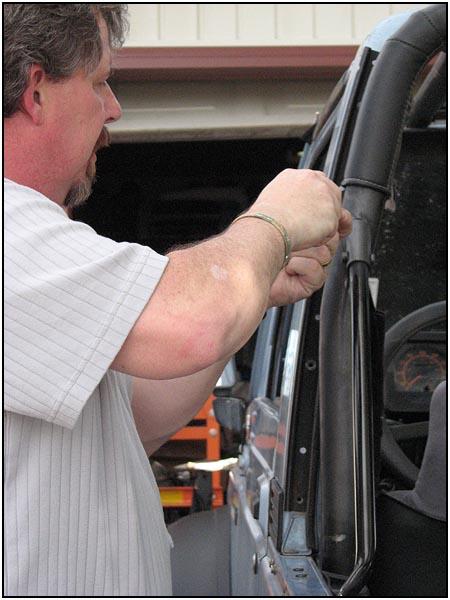  The
new top fits snug up against the back of the targa bar, so the two rails
that would normally trap the forward welt (edge of the soft top) will have
to be removed. This would be a good time for touching up the paint on the
rear edge of the targa bar (if you are picky). Sliding the soft top down
through the welt retainer for many years will wear through the original
paint but is usually not noticed until you start removing parts. The
new top fits snug up against the back of the targa bar, so the two rails
that would normally trap the forward welt (edge of the soft top) will have
to be removed. This would be a good time for touching up the paint on the
rear edge of the targa bar (if you are picky). Sliding the soft top down
through the welt retainer for many years will wear through the original
paint but is usually not noticed until you start removing parts.
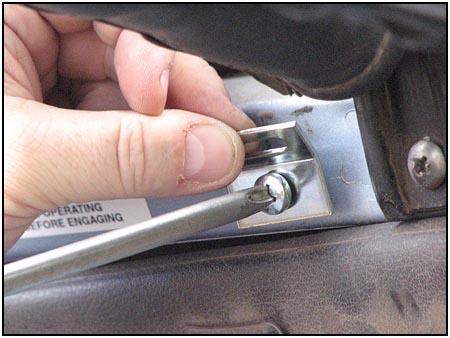
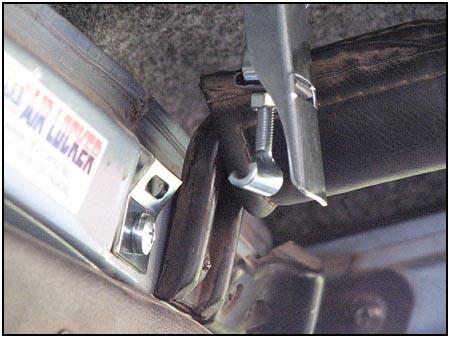
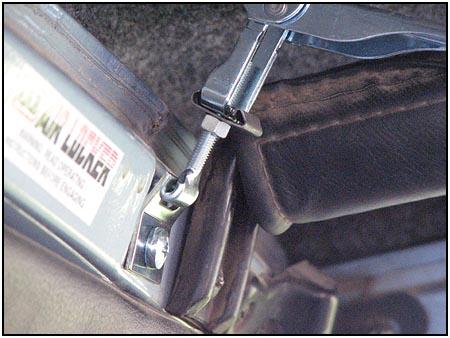
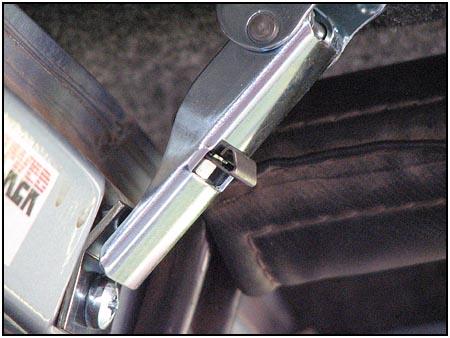
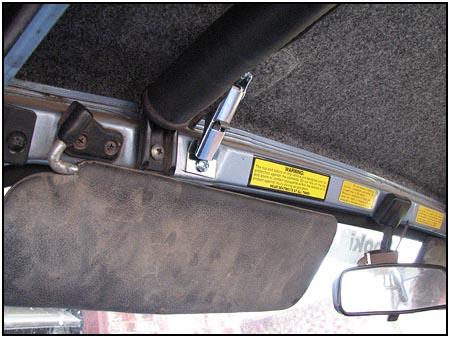
Next we install some of the latch hardware. All of this hardware is installed in factory threaded holes so you don't need to drill, cut, saw or mutilate any sheet metal during this installation. |
|||
|
|
|||
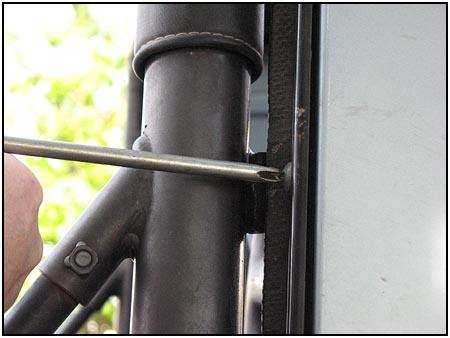
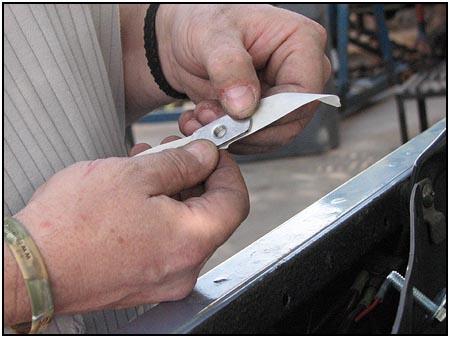
| The one part that needs to be modified is the edge molding on the leading edge of the targa bar. Normally this edge molding is completely covered by the soft top. But the top of the targa will now see sunshine (and rain) so there needs to be something to keep any moisture from draining onto you head. The stock molding is marked and cut as per the instruction packet. The new molding is then pressed into place. The only real difference in the molding is the addition of a rubber water barrier along the top edge that the front half of the top will rest against. The old molding can be thrown away as this new replacement molding will look good whether the top is on or not. | |||
|
|
|||
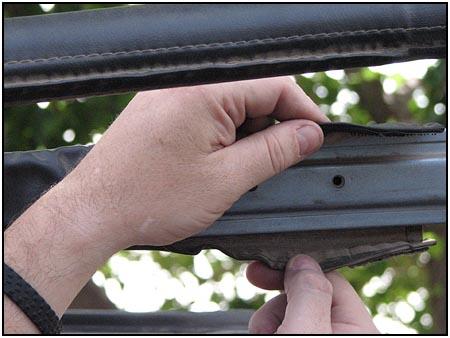
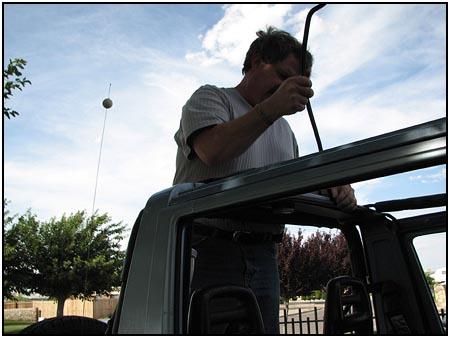
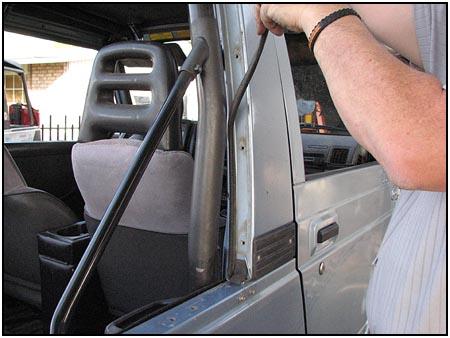
  The
top of the windshield will need a flat surface so that the rubber water
barrier built into the front of the top will have something to seal against.
This means the soft top retaining ridge will need to be removed and put away
in case you want to use a soft top in the future. The
top of the windshield will need a flat surface so that the rubber water
barrier built into the front of the top will have something to seal against.
This means the soft top retaining ridge will need to be removed and put away
in case you want to use a soft top in the future. |
|||
   The
large tube of sealant and the small pieces of weather stripping that are
supplied with the top are there for a reason. The edges of the targa were
not designed to deflect water, they were designed to be protected by the
soft top. Following the instructions and adding the sealant and weather
stripping to the small crevasses indicated will make your drive through the
rain a much more pleasant one. This is not designed to 'glue down' the top,
so let the sealant harden before putting the top in place. Remember, this
front section is made to be removable! The
large tube of sealant and the small pieces of weather stripping that are
supplied with the top are there for a reason. The edges of the targa were
not designed to deflect water, they were designed to be protected by the
soft top. Following the instructions and adding the sealant and weather
stripping to the small crevasses indicated will make your drive through the
rain a much more pleasant one. This is not designed to 'glue down' the top,
so let the sealant harden before putting the top in place. Remember, this
front section is made to be removable! |
|||
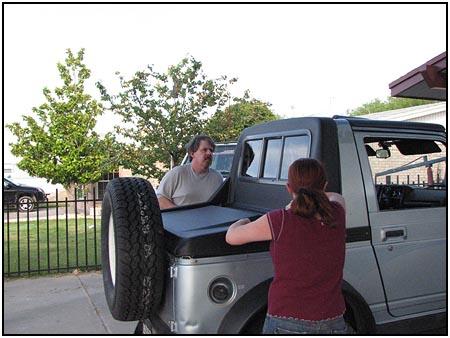
  Setting
the new front section in place is an easy one person job. it's pretty light.
Then from the inside you will be able to center the top in position and
clamp it down. The clamps are easy to adjust. You want them to clamp firmly,
but you don't want them to be so tight that they warp or bow the top. You
will be able to tell if they are too loose the first time you drive down the
road (they will rattle) so that's when you tighten them a bit more. If you
start too tight you will just damage the top. Setting
the new front section in place is an easy one person job. it's pretty light.
Then from the inside you will be able to center the top in position and
clamp it down. The clamps are easy to adjust. You want them to clamp firmly,
but you don't want them to be so tight that they warp or bow the top. You
will be able to tell if they are too loose the first time you drive down the
road (they will rattle) so that's when you tighten them a bit more. If you
start too tight you will just damage the top. |
|||
|
|
|||
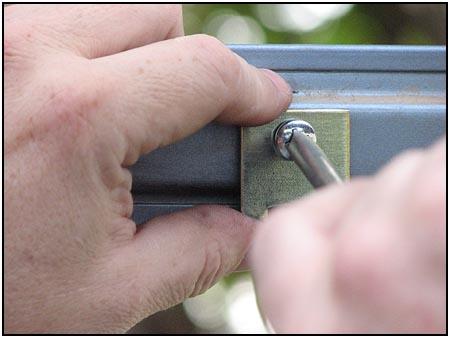
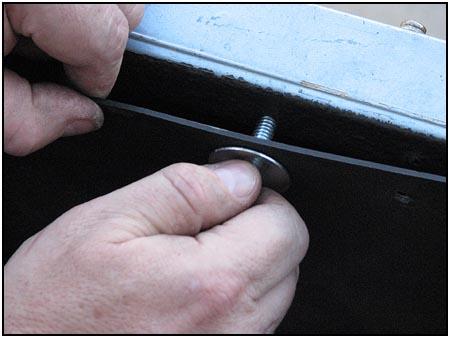
  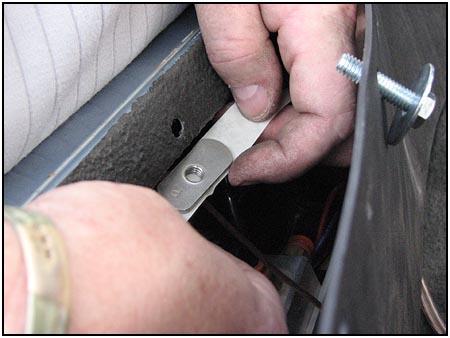  The
rear section is held in place at two points on each side. The first is not
threaded, so a threaded blank needs to be added behind the rail surface. If
you don't have any rear side panels it is real easy, but if you have panels
then you will want to use a little masking tape to hold it in place until
you can get the panel and bolt in place. Leave an air gap (maybe a quarter
of an inch) for a portion of the top to slide down inside. The
rear section is held in place at two points on each side. The first is not
threaded, so a threaded blank needs to be added behind the rail surface. If
you don't have any rear side panels it is real easy, but if you have panels
then you will want to use a little masking tape to hold it in place until
you can get the panel and bolt in place. Leave an air gap (maybe a quarter
of an inch) for a portion of the top to slide down inside. |
|||
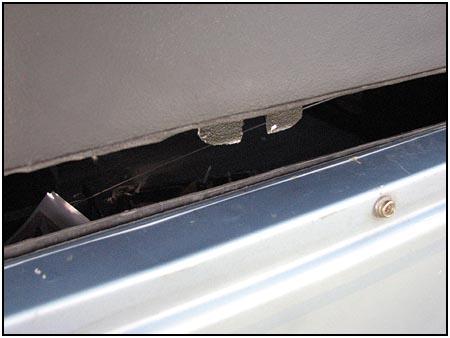
   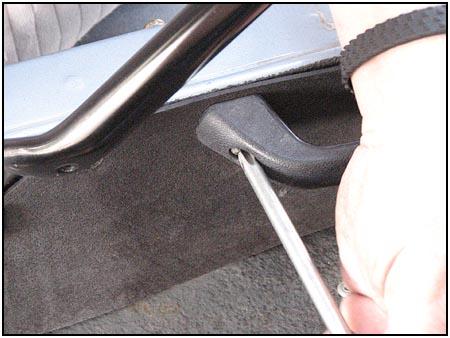 Here
you can see the air gap. If you still have the stock side handles in place,
you will want to loosen the screws the same amount because the forward
section slides in also. The two small screws in the photo on the right were
installed previously to fill the factory holes. You will need to use the
forward hole, so if you did the same, remove the screw. Here
you can see the air gap. If you still have the stock side handles in place,
you will want to loosen the screws the same amount because the forward
section slides in also. The two small screws in the photo on the right were
installed previously to fill the factory holes. You will need to use the
forward hole, so if you did the same, remove the screw. |
|||
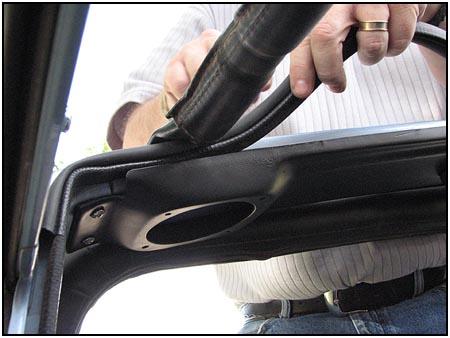
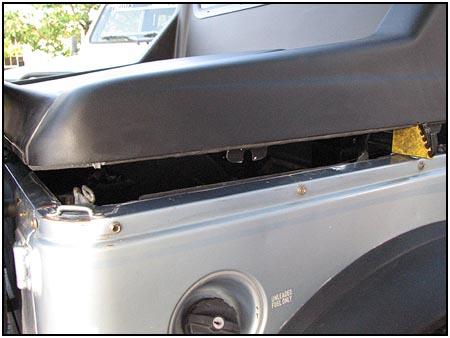
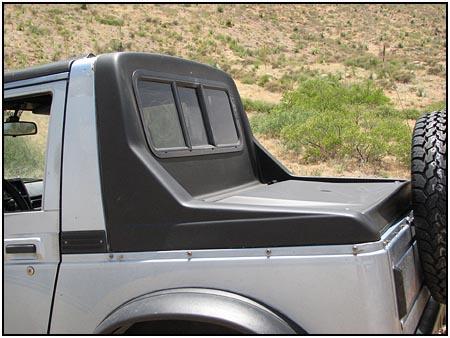
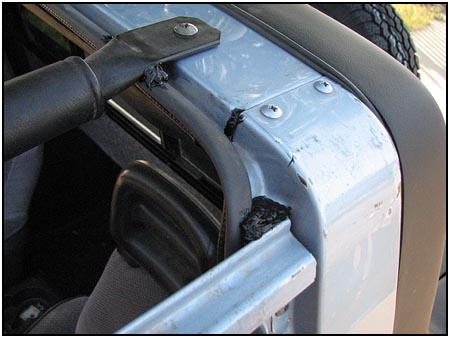
  For
most of us, the final prep will include removing the stock roll bar cover
and the rear edge molding from the targa. This edge will contact the rubber
water barrier molding that is already installed on the rear section of the
top. I would save these parts in the garage for future use as they are not
easy to find anymore. You can also see in the bottom of the picture on the
right the small piece of weather stripping that is needed at the corner of
the targa to seal over the bolt/screw that holds the targa down. As the rear
section is pushed against the targa and slid down into place, be careful of
the tabs that slide into those air gaps created above. Also make sure you
have removed all hardware that would be in the way. As you can see in the
picture below an aftermarket bikini top strap holder was missed and had to
be removed before we continued. For
most of us, the final prep will include removing the stock roll bar cover
and the rear edge molding from the targa. This edge will contact the rubber
water barrier molding that is already installed on the rear section of the
top. I would save these parts in the garage for future use as they are not
easy to find anymore. You can also see in the bottom of the picture on the
right the small piece of weather stripping that is needed at the corner of
the targa to seal over the bolt/screw that holds the targa down. As the rear
section is pushed against the targa and slid down into place, be careful of
the tabs that slide into those air gaps created above. Also make sure you
have removed all hardware that would be in the way. As you can see in the
picture below an aftermarket bikini top strap holder was missed and had to
be removed before we continued. |
|||
|
|
|||
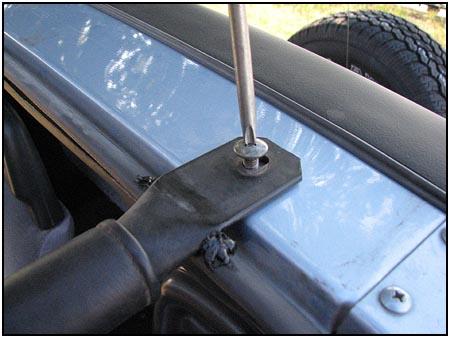
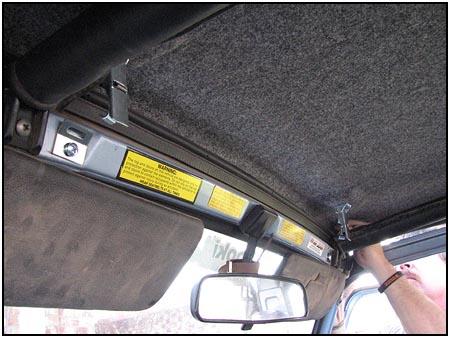
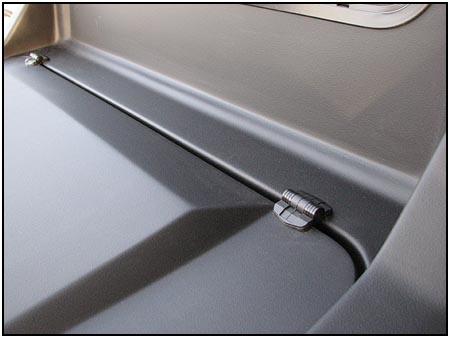
   Once
the rear section is seated, it is held in place by the bolts placed earlier
on each side as well as a pair of allen head screws that go through
predrilled holes and into the soft top hoop mounting holes mentioned above. Once
the rear section is seated, it is held in place by the bolts placed earlier
on each side as well as a pair of allen head screws that go through
predrilled holes and into the soft top hoop mounting holes mentioned above. |
|||
 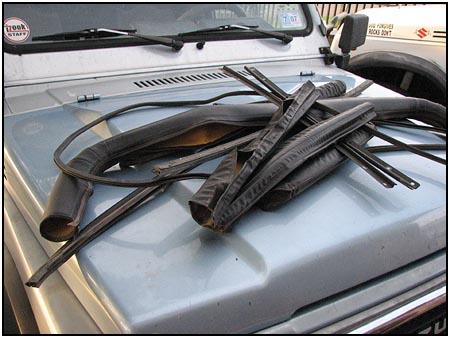 Once
all is secure, make sure you let any helpers out of the trunk... they tend
to make noises when traveling over railroad tracks and other sharp bumps. Once
all is secure, make sure you let any helpers out of the trunk... they tend
to make noises when traveling over railroad tracks and other sharp bumps.Here you can see all of the parts that were removed from the vehicle to make this installation work. Box them up and store them. |
|||
|
|
|||
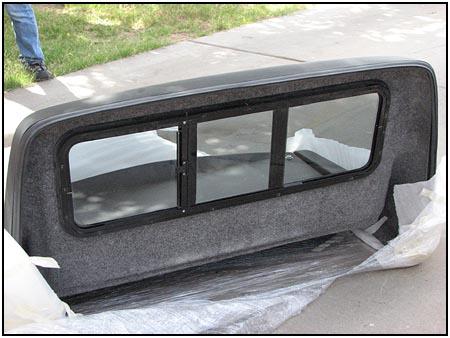
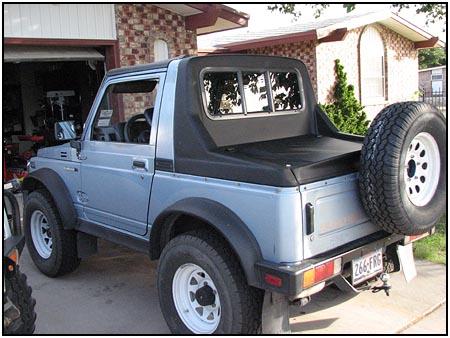
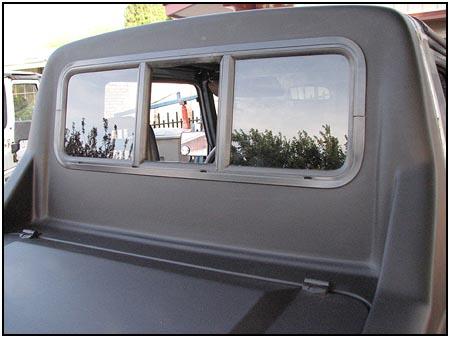
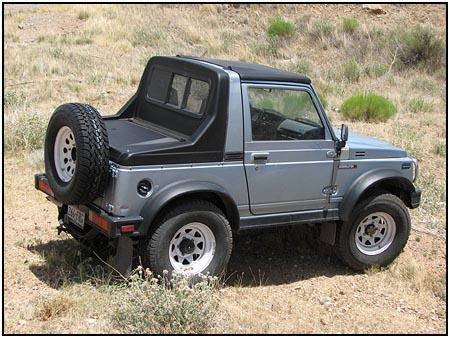
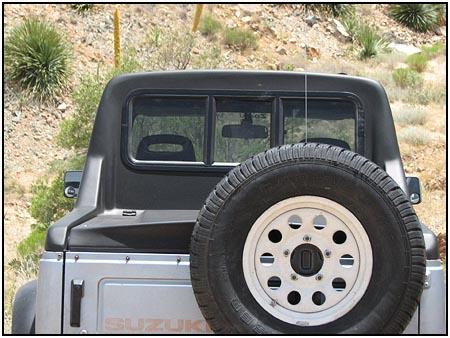
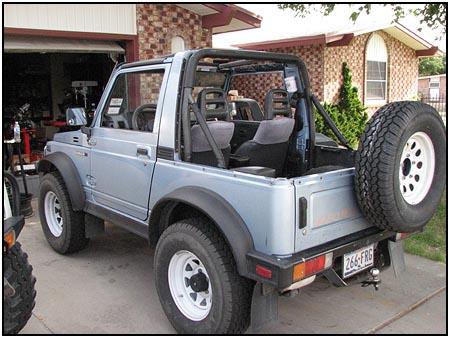
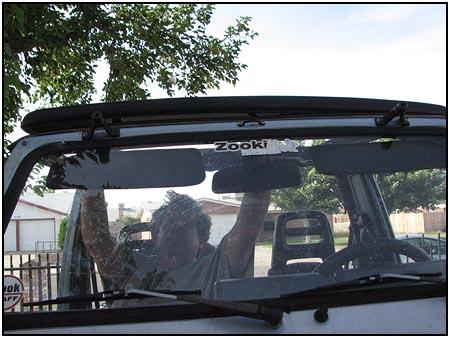
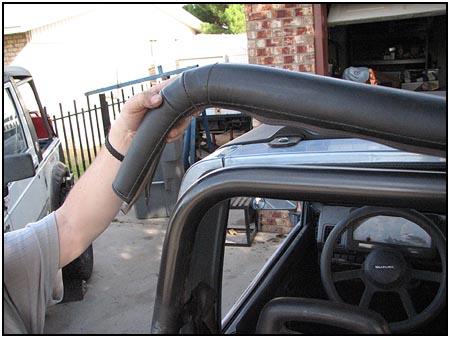
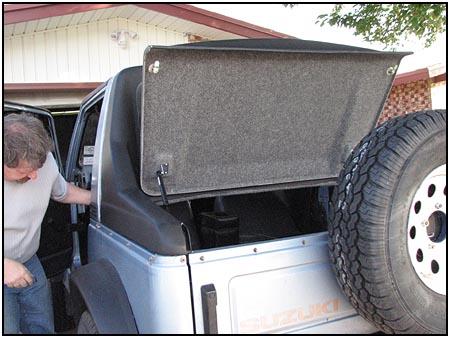
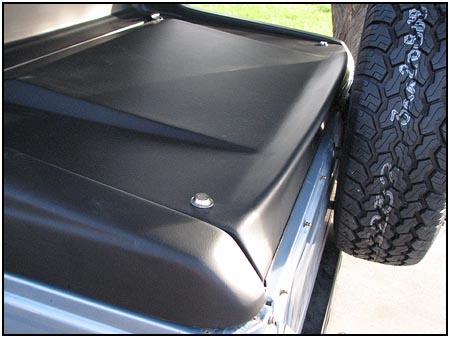  The
rear hatch uses a pair of locks (one on each side) to keep things secure.
The two gas shocks open and hold the hatch with ease. The rear window slides
open with one hand and the tinted windows keep the glare down. This top
makes a clean finish to a fun rig. The
rear hatch uses a pair of locks (one on each side) to keep things secure.
The two gas shocks open and hold the hatch with ease. The rear window slides
open with one hand and the tinted windows keep the glare down. This top
makes a clean finish to a fun rig. |
|||
|
|
|||
|
Source:
Rally Tops
|
"Rally Tops original quality sport truck hardtops. We build factory original hardtops for many sport truck models. All our woven fiberglass hardtops are custom made to OEM standards and are tested before shipment." | ||
08/22/22 13:51